

Friday, December 30, 2022
Contemplating the Library
If I wanted to be very outrageous, I could have a Formal Library and then a Informal Library. Considering that at this point, the size and ambition of Lockwood Manor is pretty outrageous, I think it's a pretty good idea. Also, there is a good reason to have two libraries (even if I have to make around a thousand mini-books), the formal one would be built to impress, and the informal one would be built to, well, read in.
I spend a lot of my time looking at pictures of old houses, and quite often it is the photos of the libraries that I am drawn to. The large ones are extremely impressive, and the smaller ones are very cosy. I wanted to have both an impressive and a cosy library in Lockwood Manor, but I thought that it would be better not to have one library that was both impressive and cosy, but rather two libraries.
 The above room may become the Informal Library, or something else. It certainly looks like it is full of potential! Now, I shall have to go to search for some inspiration. . . (You must excuse the extremely short post, as I found this hidden in my drafts the other day, and thought that it was a good idea to finish it up and post it. I haven't made any progress on the libraries yet, but hopefully that will change very soon!) In the meantime, happiest new year! I hope 2023 is a wonderful year for you and yours!
Friday, December 23, 2022
Fixing Things Up For Christmas
I've got some cheerful music playing in the background, a few snow flurries are falling from the sky, the fireplace is lit, and I thought it was about time to fix a few things up around the dollhouse so it could at least look slightly more presentable for the holidays.
 Because of all the gusty winds we've been having at Lockwood Manor, a slate tile fell off of the roof. As that is the side of the dollhouse you first see, I had to fix it first.
 Much better! Next came the subject of redoing the ceiling in the servant's room, which I had rather sloppily painted a year ago as a temporary fix.
 I started to add wood panelling to the ceiling. I was worried that for some reason it would end up looking like a floor on a ceiling, so I decided to lay the pieces of wood vertically instead of horizontally.

 The work progressed quickly, even though it was rather tedious, and pretty soon I finished it.
 I still need to add trim on the sides of the boxes (you can see that I've layed the trim for the bottom), but I have to wait until I've finished the attic room above it. If anybody has any ideas of what the attic room could be, I'd love if you could write it into the comments.

 I also added little clothes into the drawers!
 For some reason I really like this image. By the way, the poster for 'Jazz Wear' came from a sticker book about 1920s fashion. I figured it was appropriate for Lockwood Manor, so I hung it up.
 Next, I endlessly glued down planks of wood to make the floor in the North Attic Bedroom. It was enjoyable once I got into the flow of it. I'm not sure if you can see, but the nail dots that I've added to the boards are made with a pencil tip.
 I made a door for the attic, and installed it. Although it took me a few times to get the hinges right, I finally was able to and the door actually swings!

 I also installed trim in Anthea's Room. The roomboxes aren't really finished in my opinion until you add trim to hide the messy edges.

 Thus concludes fixing up the dollhouse for Christmas! Happy holidays, everybody!


Saturday, December 17, 2022
More Progress on the North Attic Bedroom
As I last posted, there was a gap between the roof that was connected to the Nursery, and the roof that connected to Anthea's Room.
 Today I set about fixing it.
 When the two room boxes were pressed together, you could see a gap.
 A piece of wood that was knocking into the knee wall seemed to be causing the problem, so I decided to pull it off.
 However, even after I had pulled it off, there was still a gap between the two room boxes.
 The gap was even more noticable between the roof (I apologize for the blurry image).
 From the back of the dollhouse (please ignore the crayon/marker mess, the person I got the boxes from had a child who stored markers in them), the gap between the boxes was still visible. Because of this, I assumed that the piece of wood I pulled off hadn't been causing the entire problem.
 Pulling the boxes apart, I saw the piece of wood I had glued onto the roof that was connected to Anthea's room. It was glued on very sloppily - I don't remember the story behind that!
 I pulled the piece of wood off, and off came a piece of wallpaper. That was fine because unbelievably, it appeared that the piece of wood had been glued on sideways, causing the roof connecting to the Nursery to be pushed away.
 Yes! The boxes meet!
 The roof pieces meet up too! There is still a small gap, but I think that is my fault when I glued in the roof. It will be covered by trim anyway. I still have to create the wall that will have the door, and hopefully I will be able to post about that soon! But for now, happy holidays and have a wonderful winter!


Thursday, December 15, 2022
Mr. Messenger's Study and His Swivel Chair
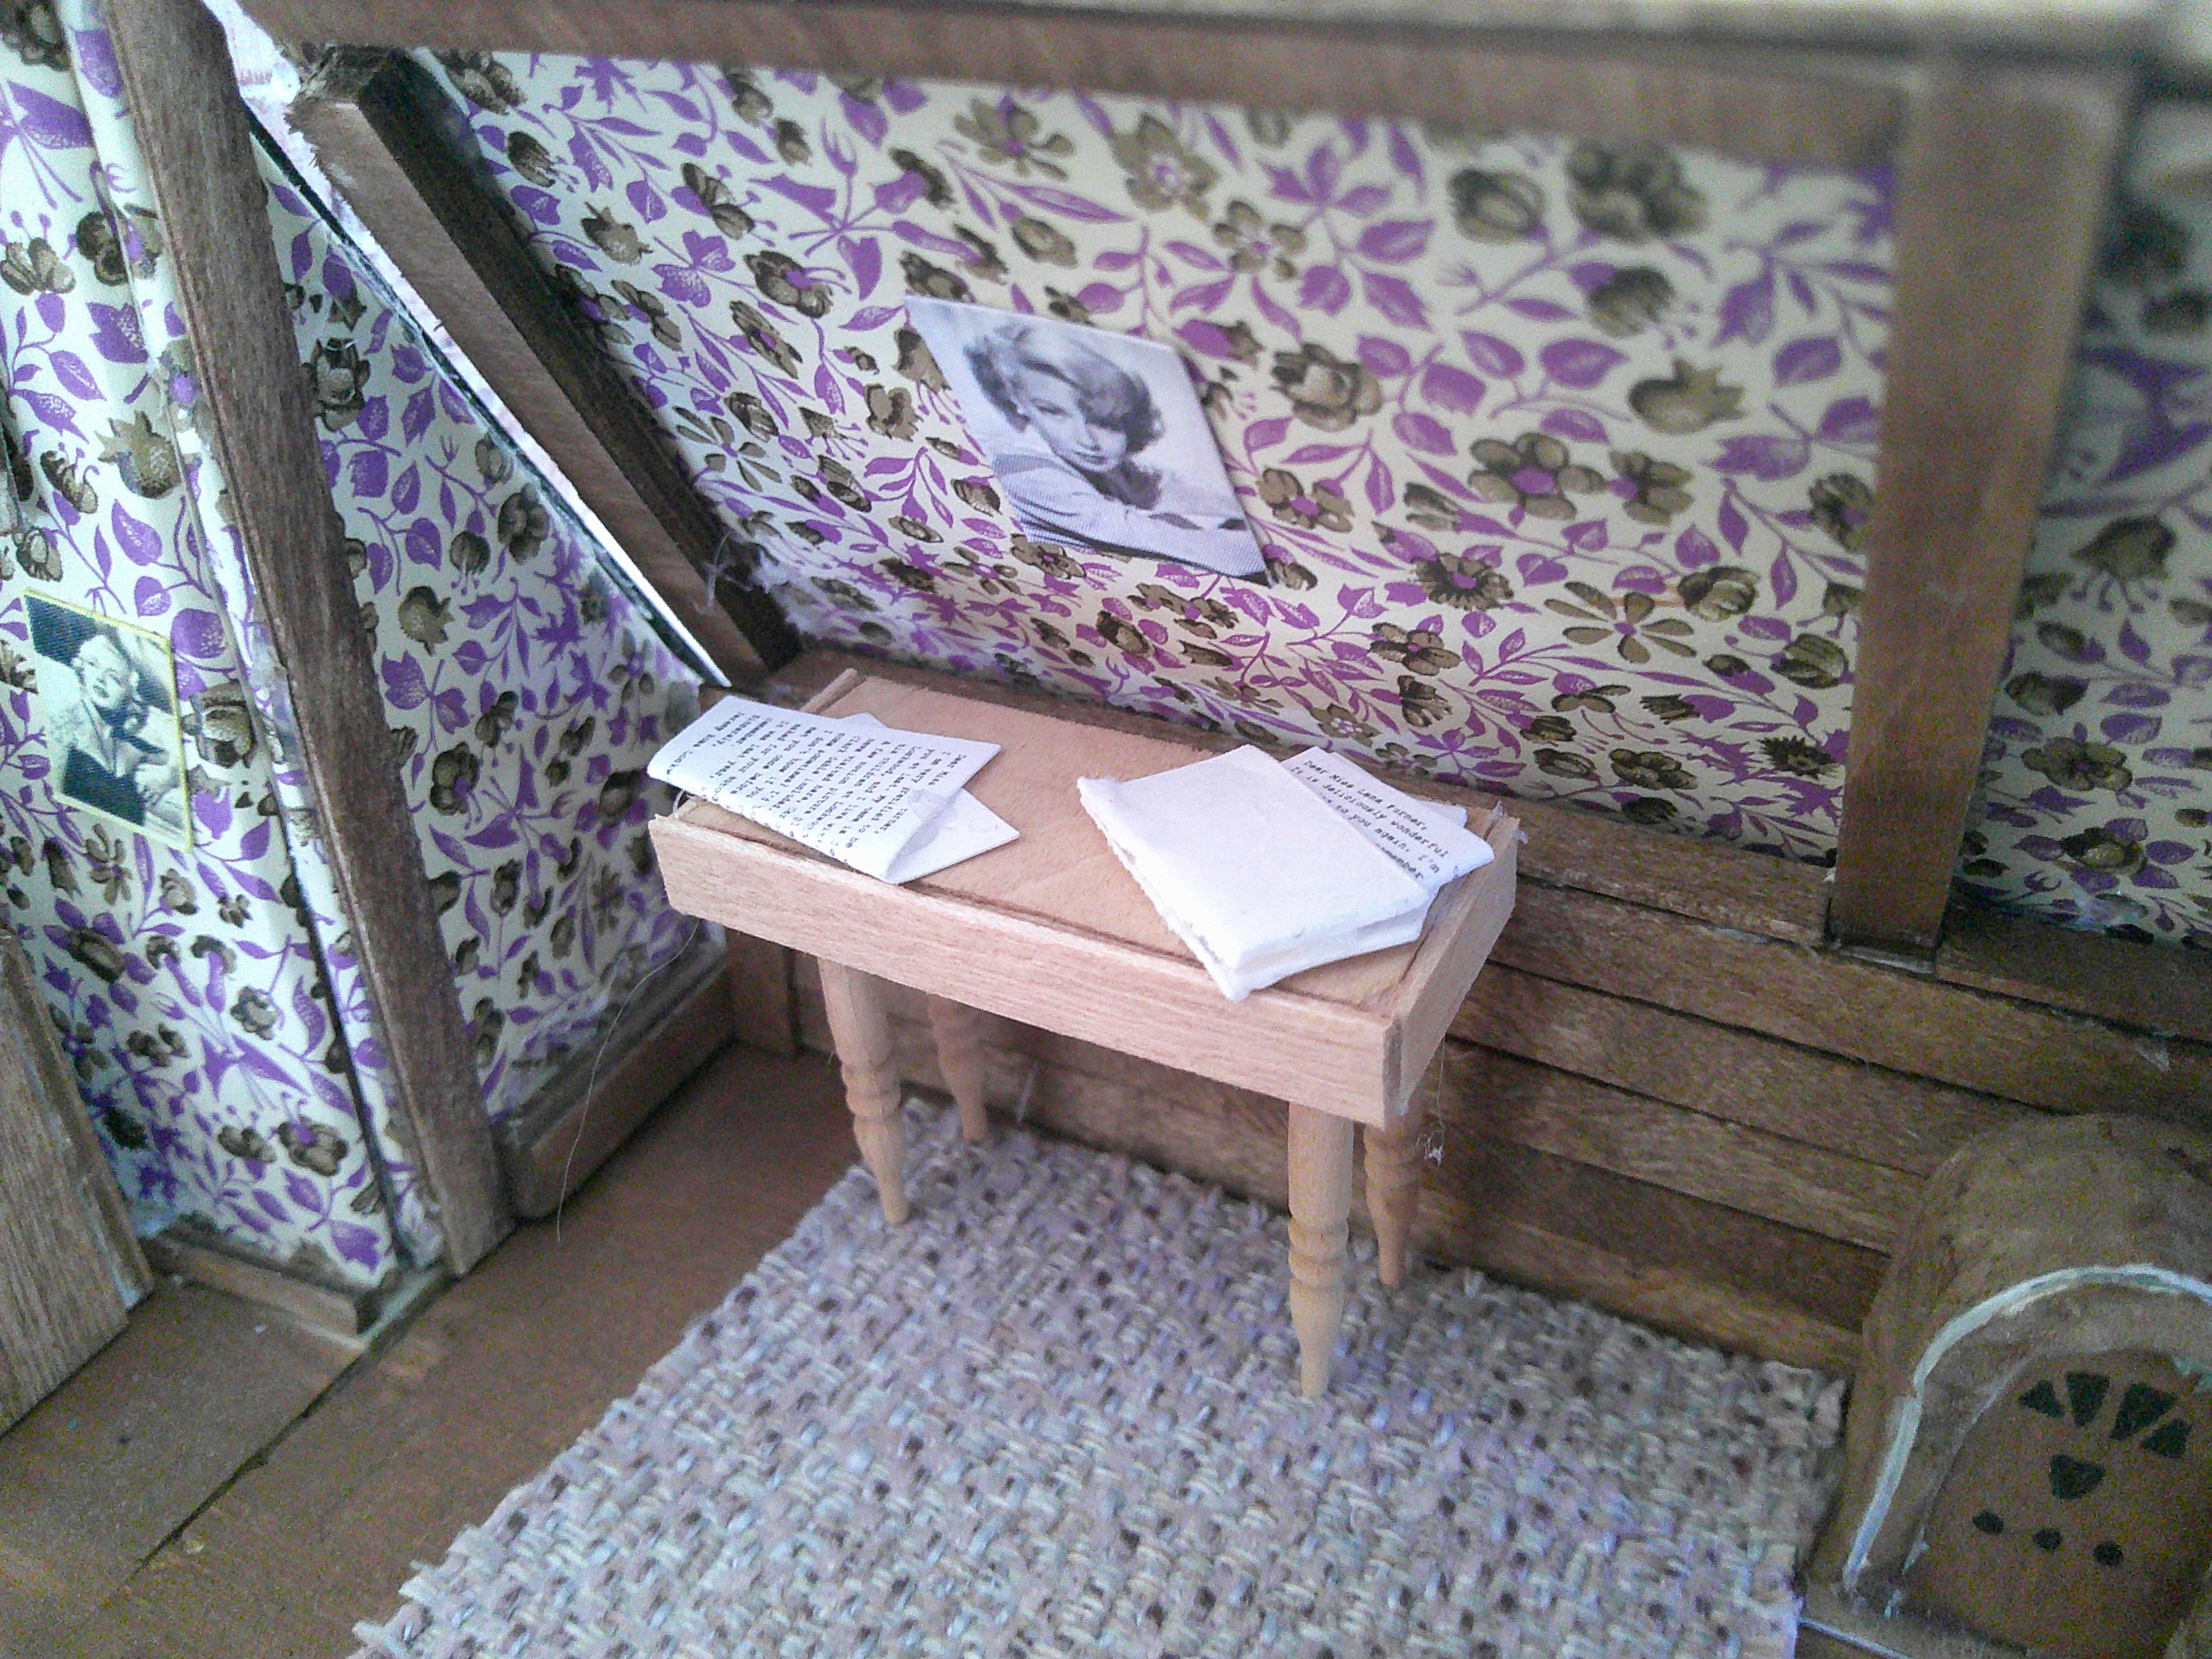
I have began to work on a new room, based off one of my favorite books as a very young child, Annabel's House, by Norman Messenger. It is a book with drawings of an Edwardian house with lots of flaps that you can pull to reveal things inside the cupboards, etc. One of my favorite rooms in the book is most likely the study, and I am basing a room in my dollhouse after it.
I am a visual person, so I wrote on scraps of papers and arranged them around the room until I found an arrangment I liked.
 The room posing as the study is actually going to be the kitchen, and the study will probably be either on the third or fourth floor. I got to work making the swivel chair for the desk. It's a bit tippy, but it stands upright in the kitchen. I had to prop it up in Anthea's Room - I think her floor might be a bit uneven in places. It's an old house, after all!
I don't quite know what I based the chair after - I did hunt for a bit of inspiration on Google, searching for '1930s swivel desk chairs', and based it a bit off of those. While it doesn't swivel, I'm still happy with it.
The room posing as the study is actually going to be the kitchen, and the study will probably be either on the third or fourth floor. I got to work making the swivel chair for the desk. It's a bit tippy, but it stands upright in the kitchen. I had to prop it up in Anthea's Room - I think her floor might be a bit uneven in places. It's an old house, after all!
I don't quite know what I based the chair after - I did hunt for a bit of inspiration on Google, searching for '1930s swivel desk chairs', and based it a bit off of those. While it doesn't swivel, I'm still happy with it.


 I'm planning on posting before the holidays, but if I don't, happy holidays to you and yours!
Saturday, November 26, 2022
Up In The Attic
The attic in Lockwood Manor has an odd configuration: the ceiling isn't large enough for it to be an actual room, so I had always planned on all of the rooms to be playhouses, little hideaways, or perhaps even extra bedrooms if there were too many guests.
 For some odd reason, I had an idea to create a tiny bit of a hallway next to the North Attic Bedroom, barely more than an inch wide. While I do not have any photographs of it, I do have two images of the door that led to it. The door and that wall (on the right of the top image) were a placeholder for when I built a better door that actually worked and had hinges.
 Yesterday, I decided it was high time to demolish that wall and build the permanent structure.
 As seen in this image, the wall extended all of the way to the floor. This was also just a placeholder: when the time came I would add a knee wall.
 First, I had to rip out the wall with the fake door so I could demolish the tiny hallway. Ripping out the wall also ripped out some of the wallpaper I had used in the hallway (the reverse of the wallpaper I had used in the North Attic Bedroom). The problem with this was that I didn't know where the wallpaper I had used for the North Attic Bedroom was. It was actually real-life wallpaper, so I couldn't just print some out. Try as I might, I couldn't figure out a way around this, so I put it off.
 When I tried to pull off a baseboard that I had attached to the wall, it also pulled off a bit of wallpaper, but this was fine because it would be covered by the knee wall.
 Luckily, most of this mess would be covered up by the knee wall.
 I built a mockup of sturdy cardboard and wood for the knee wall, and decided I liked it.
 That was the space I would lose by adding a knee wall. At first, I thought I could add wiring, but I hate dealing with the electricity, so I left it off.
 I was too carried away to take any photos during construction, but that was the result after I had added all of the paneling.
 I still had to add the top of the paneling as you can see in this photo.
 All done! Except for the wallpaper. This I couldn't figure out until I looked at the wall that I had demolished from the fake door. It still had some wallpaper on it.
 I glued it in. I didn't want to risk ripping the wallpaper while pulling it off of the piece of wood, so I left the piece of wood there, which is why it protrudes out a bit. The wallpaper didn't quite reach the top of the wall, but this was fine because I was going to add paneling there anyway.
 After I had finished gluing it in, the knee wall looked like that.
 The front view. I had finished paneling where the wallpaper didn't reach the top of the wall.
 Unfortunately, where I pulled away the wall with the fake door left glue marks. I wanted to cover that up with wood flooring, but a bit of a disaster episode ensued, so I figured I could do it some other time, and added a coat of paint to it. With a carpet on top, you can't even tell the difference.
  There is the mockup of the wall!
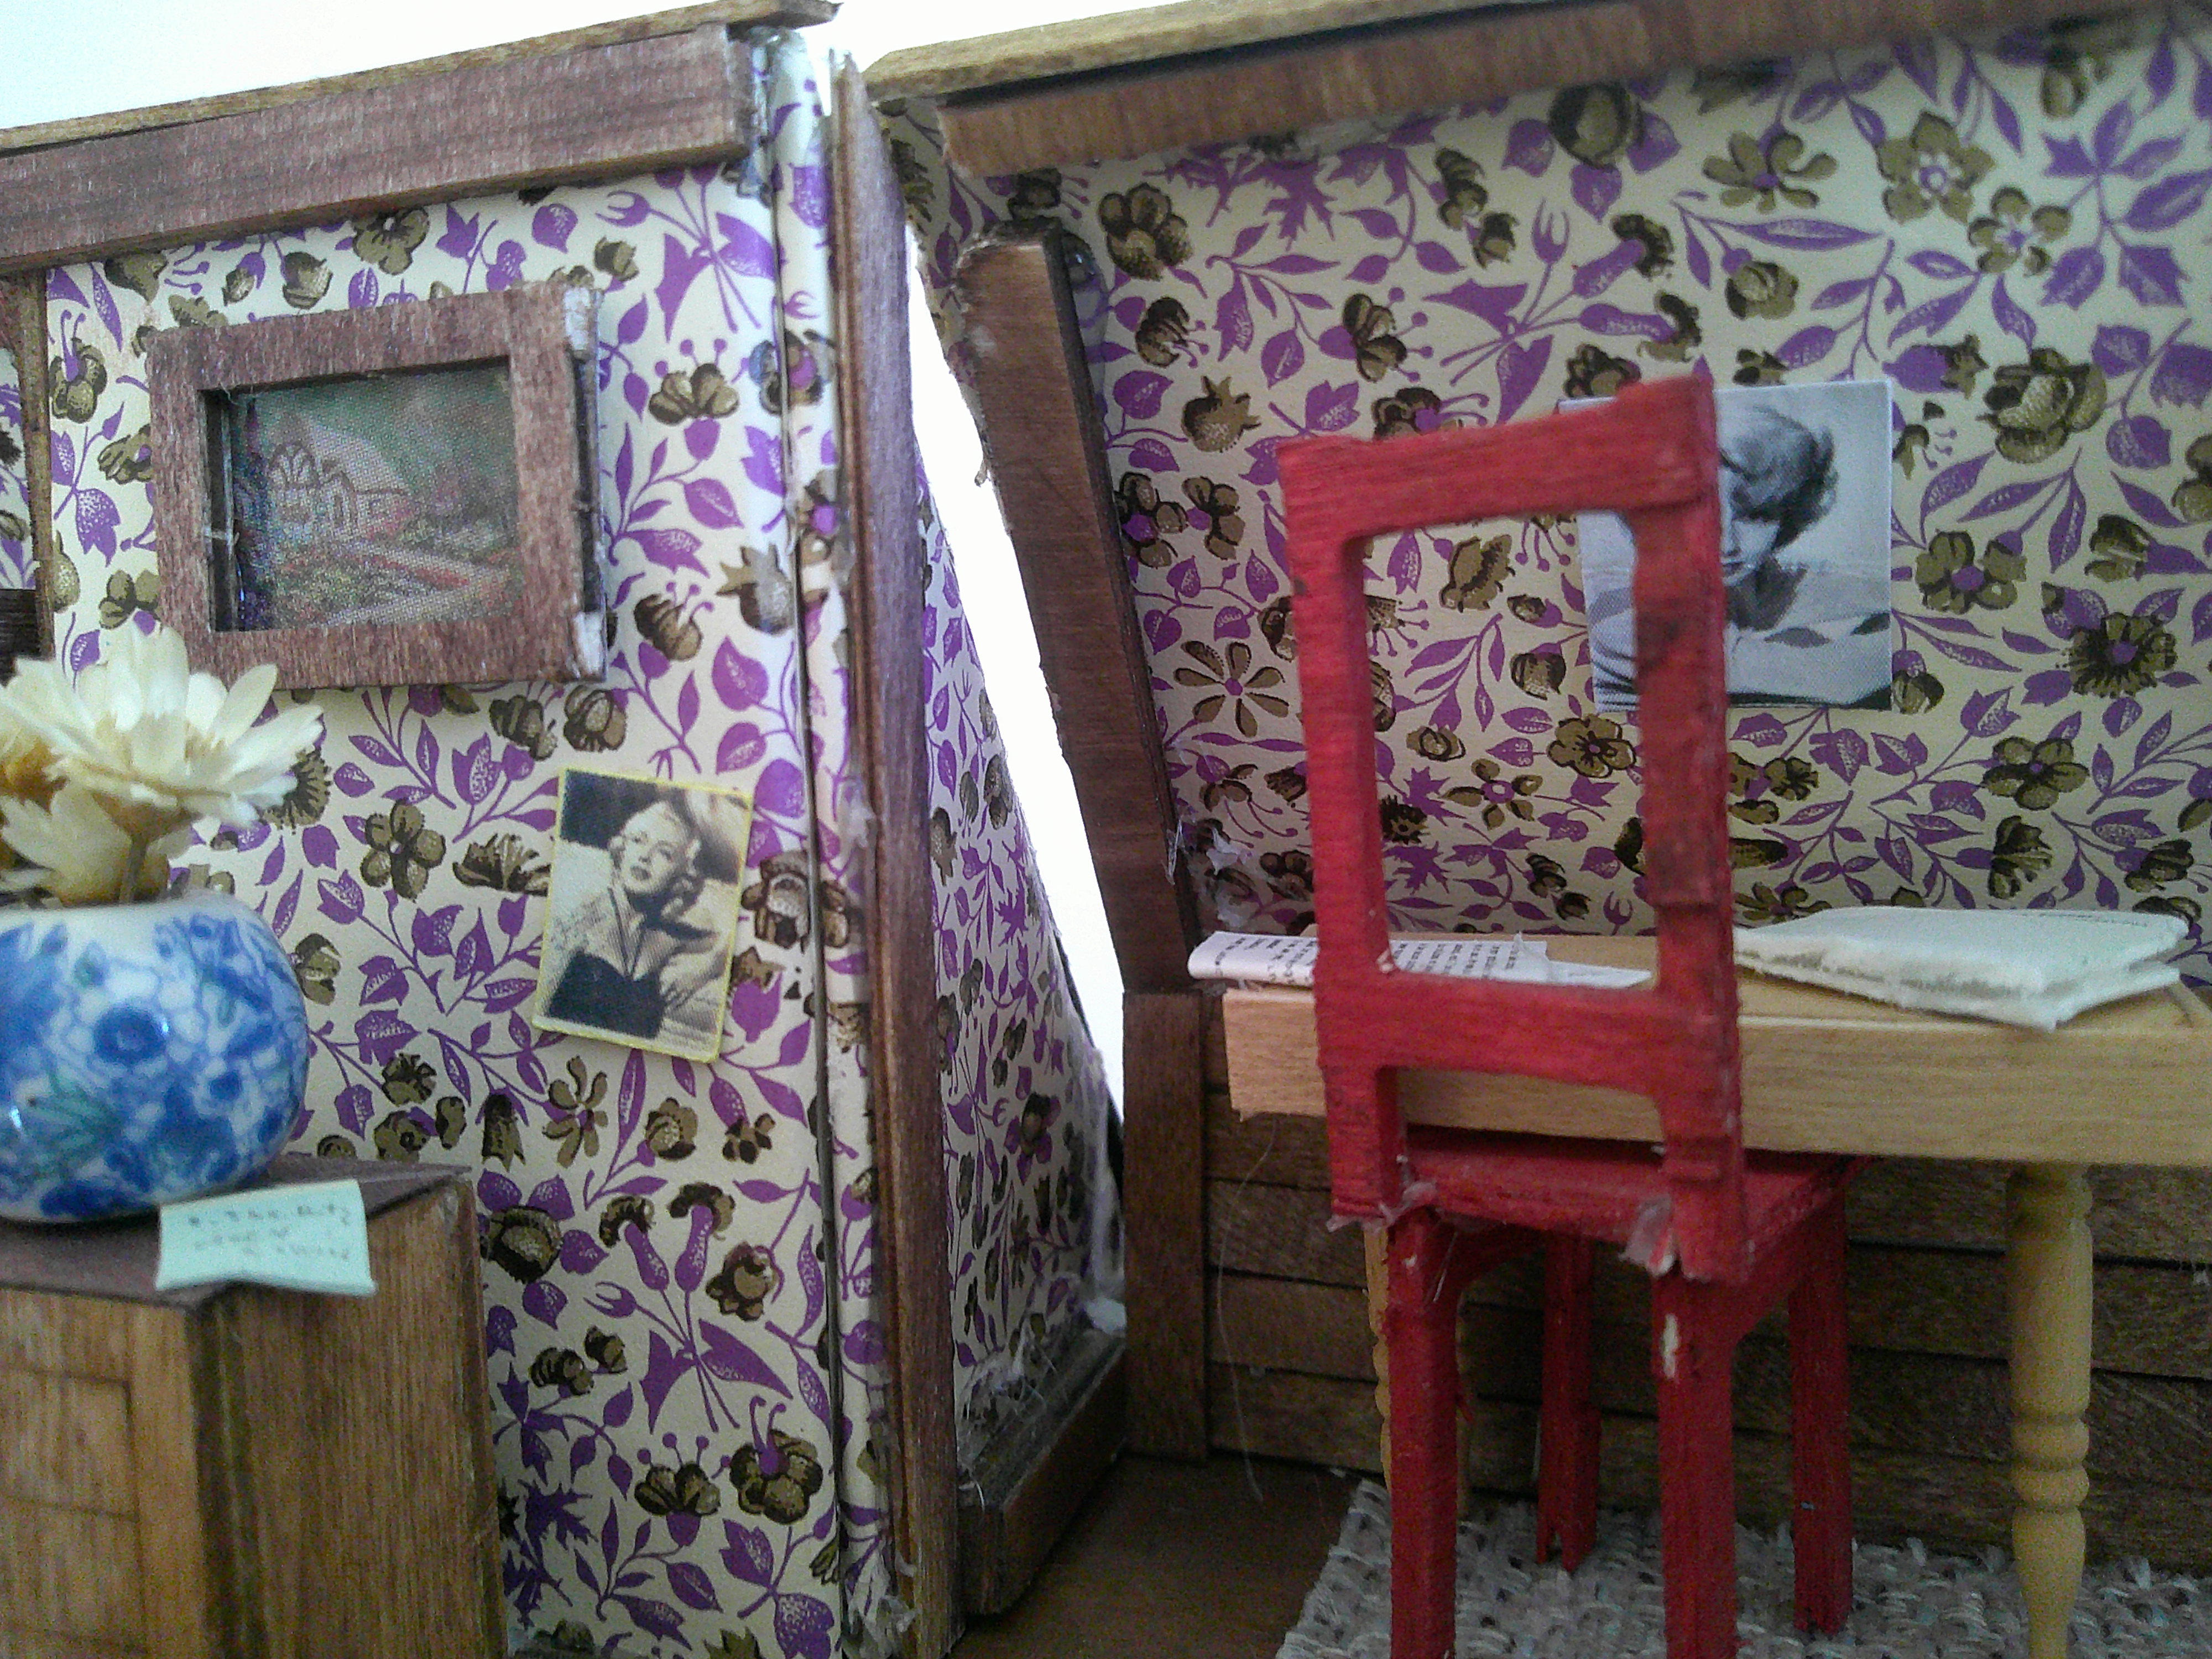
 Unfortunately, there is a gap between the attic that is part of the section with the Nursery and the section with Anthea's room. Hopefully, I can cover this up with trim.
 Most of the problem is due to a piece of wood that bumps into the knee wall, so the sections don't sit flush to each other. I will remove the piece of wood, and hopefully the gap will subside.
 I also added trim to the top of the wall, which makes it look a lot neater!
 A photo shoot of the knee wall ensued. The radio is a placeholder.

 The paneling is completely done! There is a little nail in the wall because it was there when the wall was part of the fake door, and unfortunately it's stuck quite tight so it's impossible to remove.
You'll just have to play along with me that the knee wall was there all along and was part of the 1925 renovation of the attic :-)
The paneling is completely done! There is a little nail in the wall because it was there when the wall was part of the fake door, and unfortunately it's stuck quite tight so it's impossible to remove.
You'll just have to play along with me that the knee wall was there all along and was part of the 1925 renovation of the attic :-)
 Hopefully I will be back soon with the North Attic Bedroom complete!


Subscribe to:
Posts (Atom)