Hello! I'm sorry I haven't posted in a while, time just seems to slip away from me in these early winter months. I have however managed to get some work done in Lockwood Manor, including fixing up a room.
You see, the Trunk Room in Lockwood Manor had originally had glass tiles glued to the bottom of the room box, which made the wallpaper, and the layer of thick orange cardstock beneath it (it was glued on about the same time as the glass tiles) bump out considerably.
Above are the glass tiles in question, along with the cardstock.
My original plan was just to lift up the wallpaper a bit at the bottom, which would have been easy to do as it had never been glued down very well. Unfortunately, while it appeared that Plan A would work, the cardstock that was glued to the wall on the right hand side was thick enough that it was causing the wallpaper to bulge out, and would make the wainscotting that I was planning on gluing in pop out.
While it is not a very good image because such a thing is difficult to capture on camera, you can see the trunk room before I started to work on it. What follows next is a bit like one of those: "Why You Should Be Satisfied With Your First Version of the Room And Never Try To Fix The Things You Did Sloppily In It" stories, for everything that could go wrong seemed to.
On the left hand side of the room, you can see that on the bottom left, the tiles cause the wallpaper at the bottom to bulge out. The door has a rather large step down, but the wallpaper under the door frame at least shows you what is should be like without tiles.
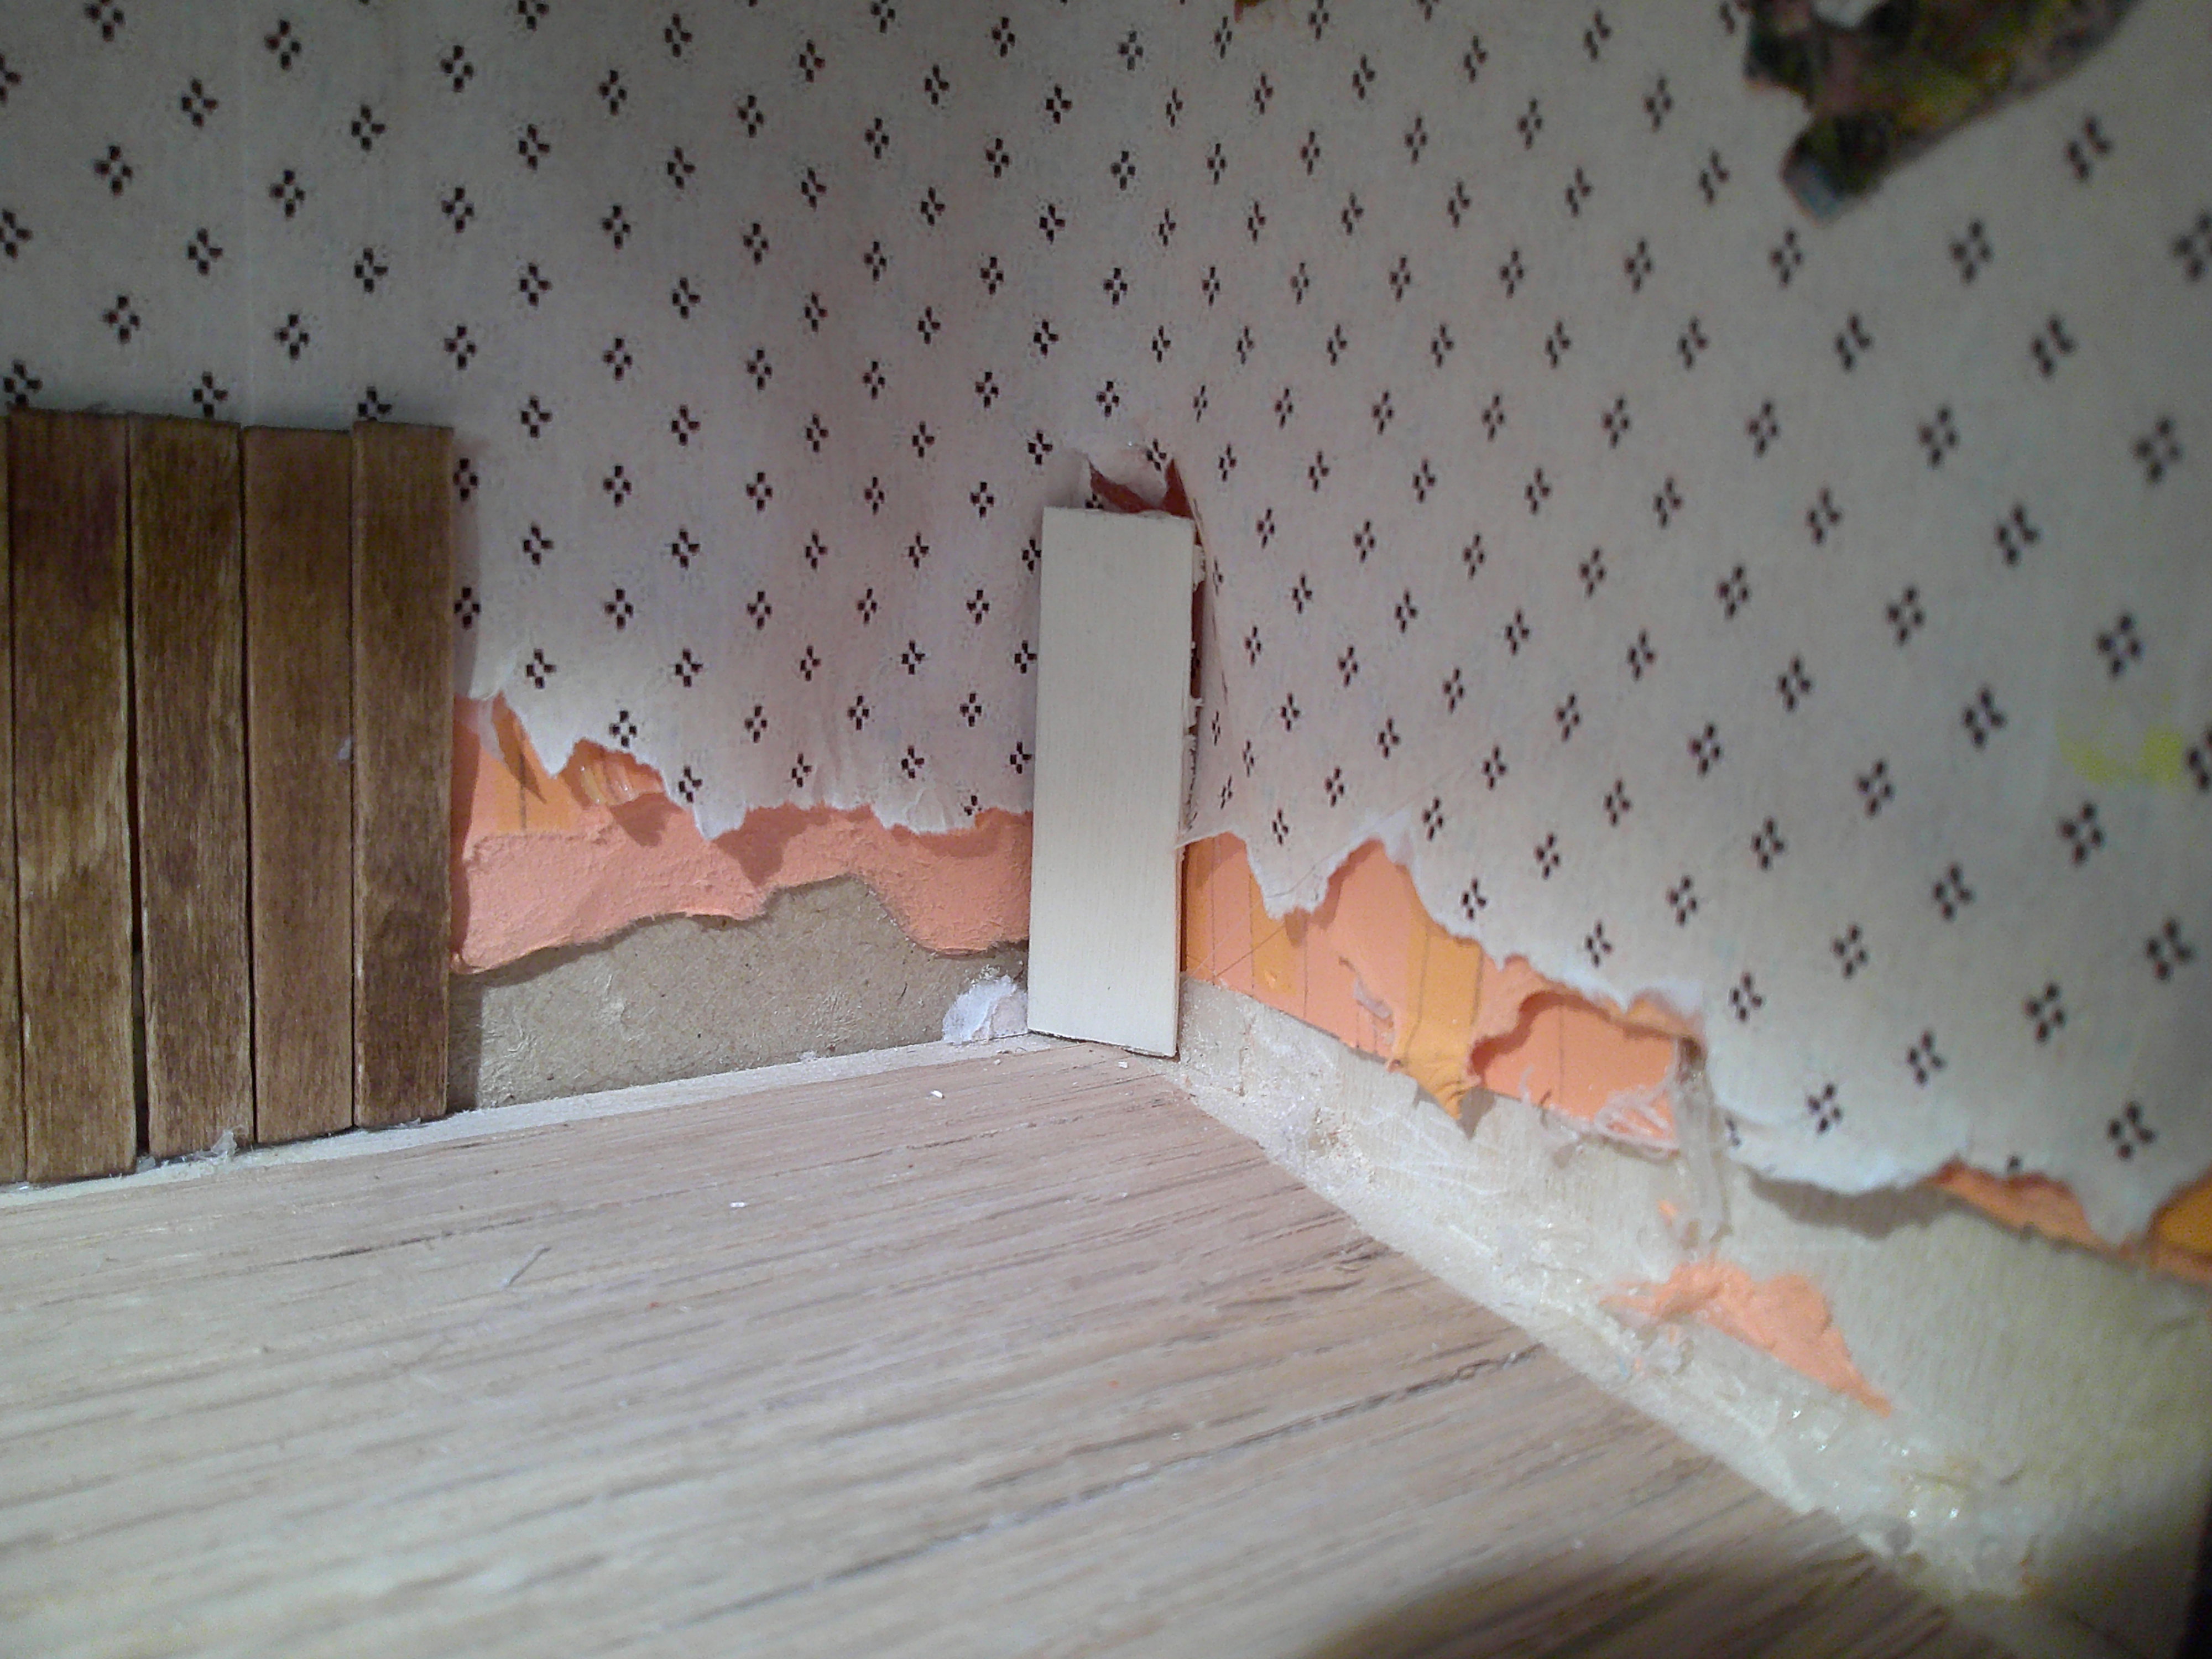
After about an hour of work, I managed to take off the tiles at the bottom of the wall and rip off part of the wallpaper so I could glue on some wainscotting, which I thought would cover up all the mistakes at the bottom of the roombox. You can see the orange cardstock in the image, but I didn't want to rip it off in that corner because it was glued down flat and wasn't causing the wallpaper on top of it any problems.
After this, images become sparse, for it was very difficult to take off any of the tiles, and was even more difficult to do so while holding a camera.
This image that looks like it was taken at midnight (I assure you that it was not), shows what the room (a corner of it, anyway) looked like after I ripped off most of the tiles.
Well, hurray! All the tiles were gone, and I could start gluing in the wainscotting and completely forget all the troubles that I had had with the Trunk Room. Well. . . no.
I'm pretty certain that you cannot see it in this image, but the walpapery was glued in at a curve, with no wall behind it, and was so flimsy that if you accidentally knocked the wallpaper in that corner, it would break in half. It wasn't properly glued in at all, and to fix that, I had to tear it all off.
To address this issue, I had to rip off all of the wallpaper on the right hand side. At the left, you can see the start of my wainscotting. Then, to add interest to the otherwise rectangular room, I glued in a wall at a slight angle on the right.
Originally, I had wanted to glue just a tiny piece of wood at the corner, and then I wouldn't have to rip off
all of the wallpaper, but the curve was still noticeable.
I stained the wainscotting, and began to glue it in.
Once I glued all of the wainscotting in, the floor decided to be a problem. I had put down flooring that was Peel-And-Stick, and it was coming up in place. Instead, I wanted a nice wooden floor. But, I'm afraid I've made this post too long already, so I will be back soon, hopefully with the Trunk Room finished (famous last words)!
For now, stay well!
Snow (made out of paper) adorns the Servant's Entrance at the back of Lockwood Manor