I'm afraid that a new obsession has overtaken me. I've grown insane about parquet flooring after finding out how fun the parquet flooring in George's Room was. That is, making parquet flooring. Which is actually quite lucky for me, because a
lot of rooms in my dollhouse need it. I've currently been re-flooring Anthea's room. It's a bit fiddly, but I find it relaxing - I play piano, so my fingers are used to moving at quirky angles and moving
quickly which is a must when you're about to drop that little piece of flooring your fingers are holding!
Before I started re-flooring, the floor in Anthea's Room looked like this. Because this was a box I refurbished way back then, and the previous owner had kept crayons and markers in it, it was a bit mucky. I tried to wash off the markers that had stained the box - yes I quite literally gave the box a bath - but they didn't come off. I sanded it some, and you can't really tell in photographs, but in real-life, it's glaringly obvious, so I covered it with a green velvet carpet and pretended it wasn't there.
That was fine until yesterday, when I had had
enough and decided to redo it. After all, I've been going through a phase of "Finish All of the Rooms Before Getting Started On New Ones But Still Continue Planning", so I thought it best to get started on Anthea's room.
I'm not sure if you can see it, but at the bottom left corner, there are two toothpicks that way back in yester year I had glued as base boards. Yuck! So I had to take them off, but the glue had stuck rather hard. . .
So, when I yanked it off with tweezers (or rather, gently pulled until it gave away), it left me with a
big rip in the wallpaper. And it wasn't exactly the kind of rip that one could ignore, either. Luckily, the wallpaper (although still glued to the baseboard), was fully intact, so I was able to glue it back on.
It looks much better, if I may say so myself! (The gap between the bottom of the wallpaper and the floor will be covered up by baseboards.)
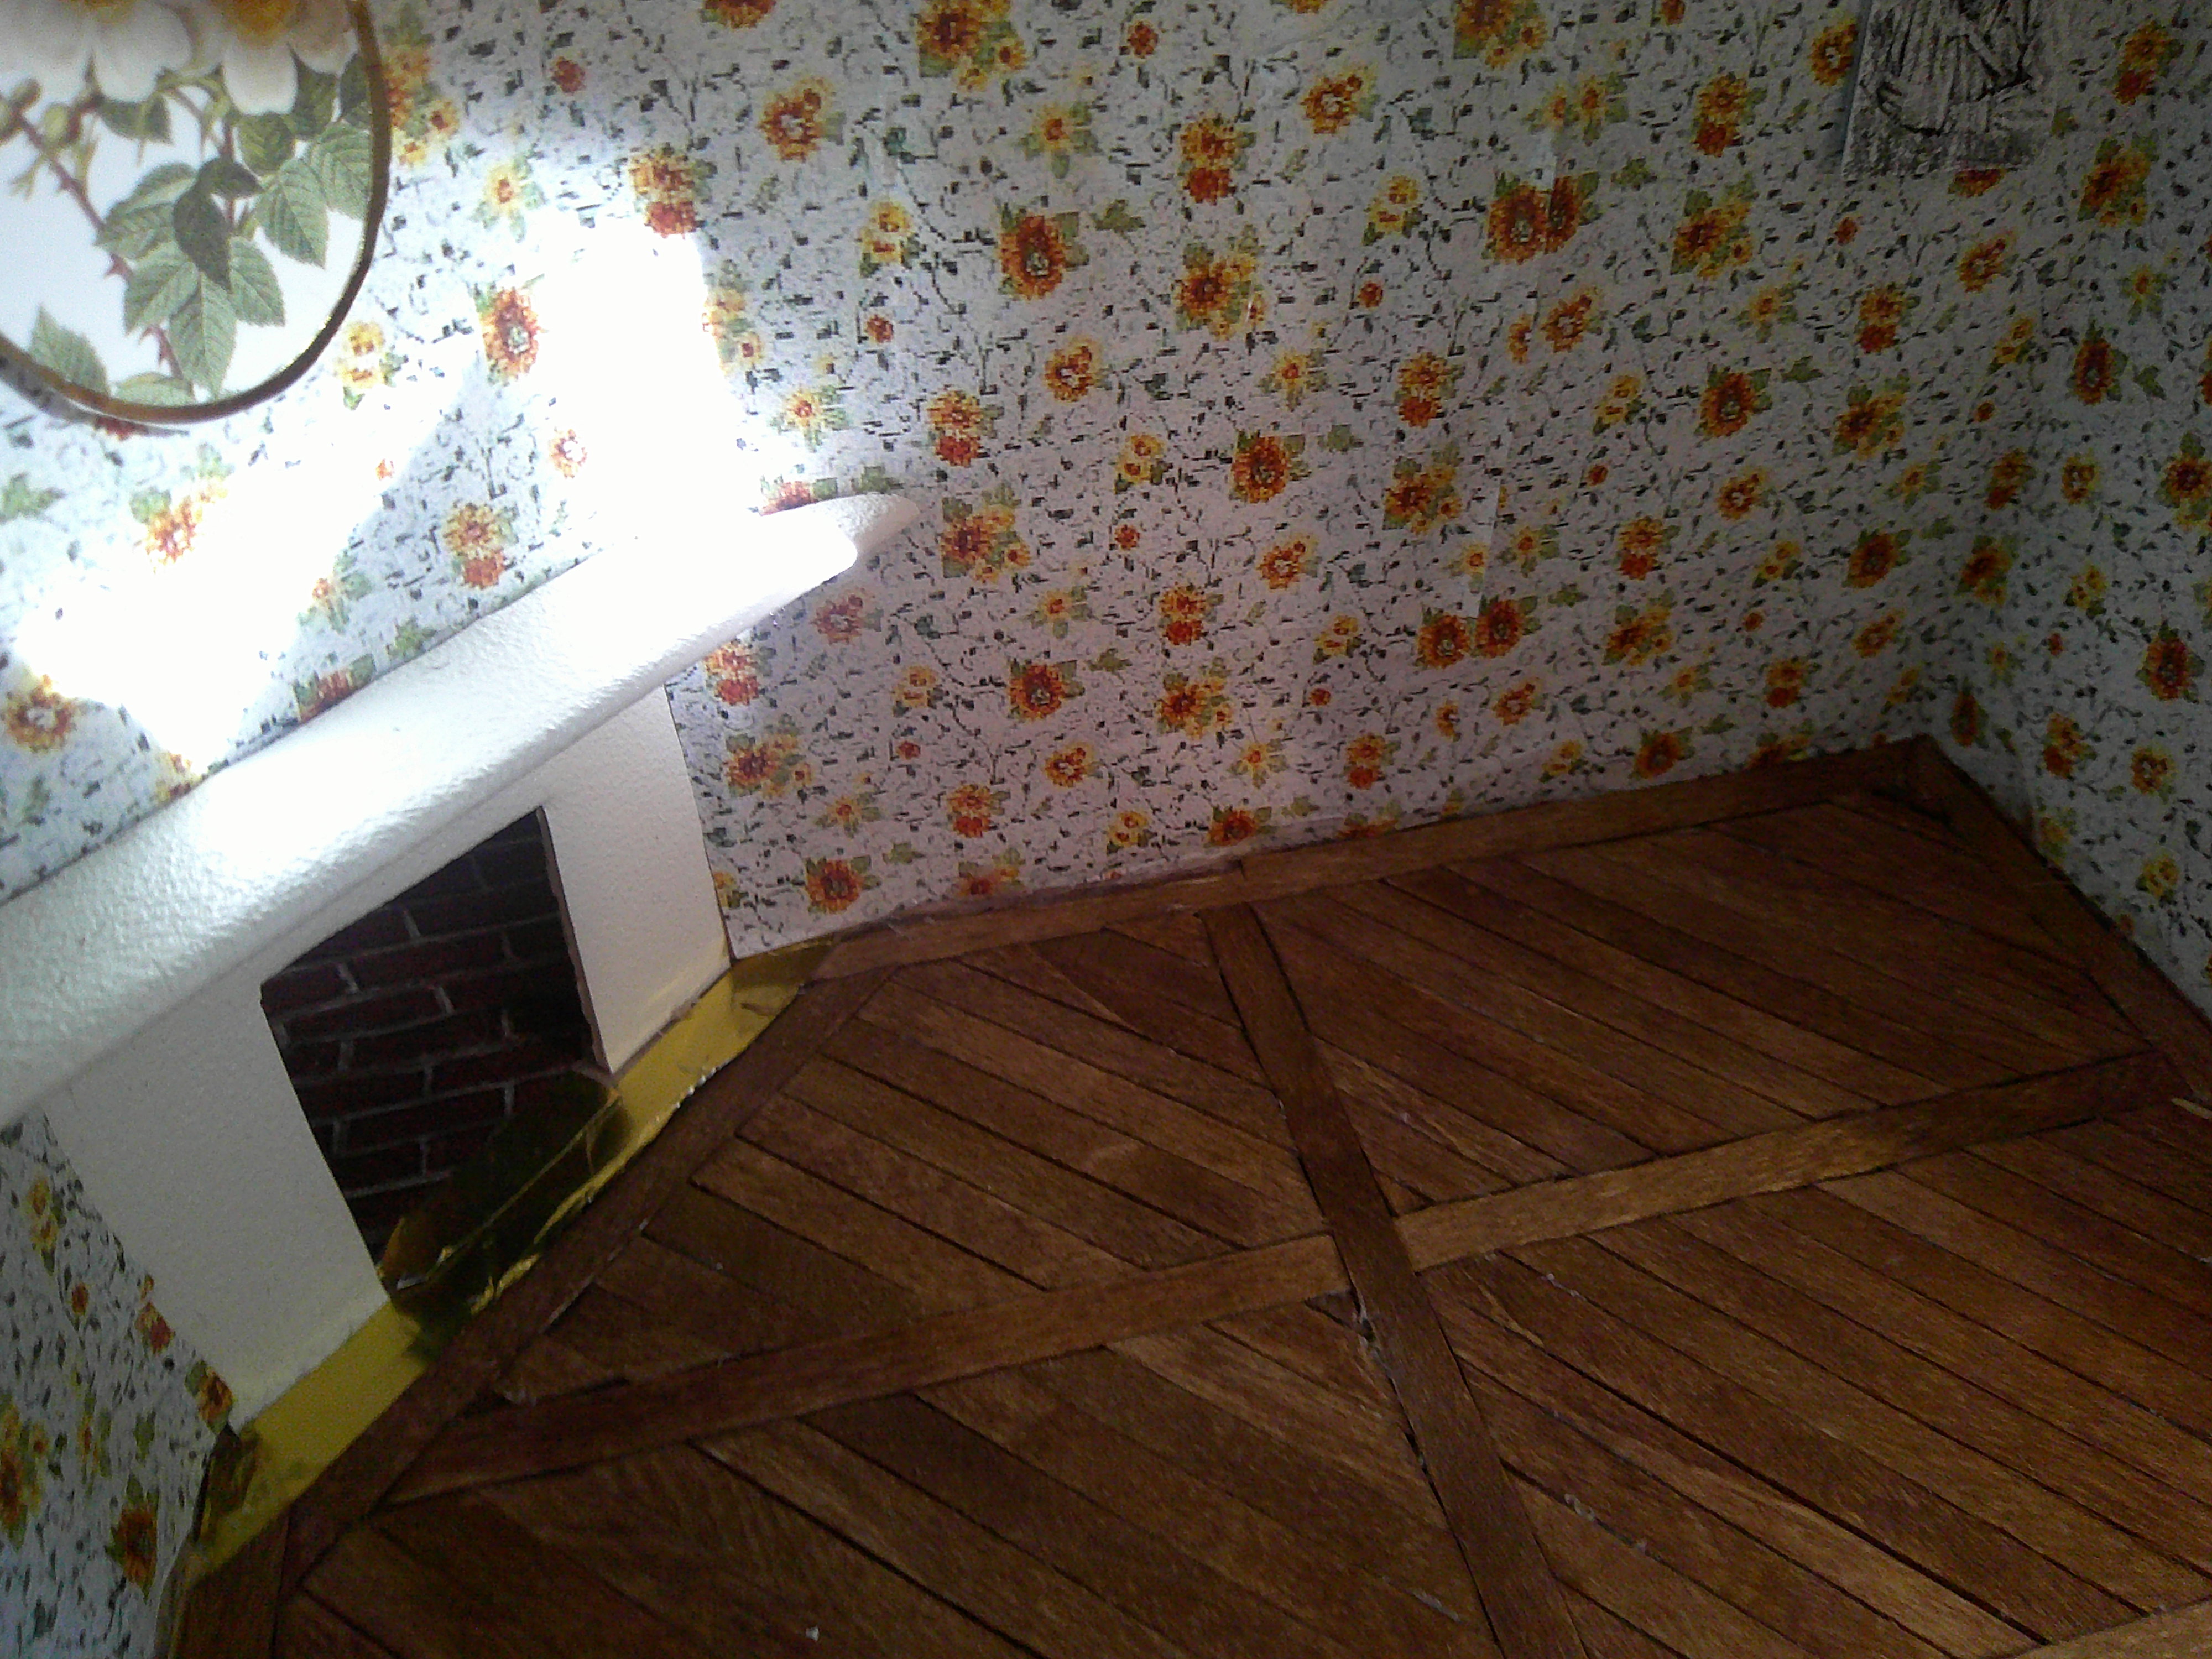
Even though I had no idea what type of parquet I wanted, I glued in the trim pieces on the walls.
Then I encoutered a slight problem.
The gold foil that was the separation from the wooden floor and the hearth had a small indent in it, which caused a gap in between the floor and the foil, where you could see the sub-floor beneath. The floor was dark, the foil was gold, and the sub-floor was light, so it was a noticeable gap. I covered it with stain and even though some got on the gold foil, it wiped off easily.
But. . . the piece of wood I cut for it had a larger grain, which made it darker colored than the rest of the wood. You can see the comparison above. The wood I cut for the fireplace is on the left, the glued-in trim is on the right. I solved this by sanding the wood on one side, which reduced the grain sized, and the stain didn't take it as harshly.
Then, I had all the trim glued in, and had to decide what to do for the inside. I thought about doing little Mosiac parquet (if you look it up on Google, you'll get an image), but I didn't want to deal with all of the fiddly bits near the fireplace. I considered herringbone, but I've read you need to use a graph drawn on the floor for this, and I thought it would work better in a room that didn't have the wallpaper glued in yet.
Then I thought about dividing the floor into four different sections like I saw somebody do on a dollhouse website (cider12.com).
I liked the idea, and for the inside, I thought I would do diagonal boards, like in the image below.
The first one I glued in. It was a bit nerve-wracking, I'll admit!
Square one completed!
Square two completed!
A closeup. Perhaps if it wasn't a children's bedroom, I would have expanded the trim to three sections, and had the middle one a mahogany for a highlight, and had the four quadrants also become three sections, the middle one also maghoany. But it was a children's room, and I'm a bit of a newcomer to this land of parquet, so I stuck with the simpler version. However, I'll surely find a room to do a very extravagant parquet on!
Square three completed!
Square four completed!
Making the parquet floor is very rewarding because you can see your progress immediately, and I'm insanely proud of this one.
More parquet floors coming my way? Of course! I'm toying with the idea of redoing every single floor in the Mansion that I used stick-on-flooring for. (Ignore the dust in this image, I have since sweeped it off with a dollhouse broom!)
As a reminder, the trim before I glued in the rest of the parquet.
And the finished parquet!
I hope you enjoyed!


That floor is amazing Julia!!! Will you come back to Ireland and do our floors for us? :) Anna xxx
ReplyDeleteThank you, Anna! I'm glad you like the floor!
DeleteI mean, I'd love to do floors in Ireland for you - but you're going to have to supply the coffee stirrers ;-)